

How to Make an Origami Strawberry Shortcake: Easy Step-by-Step Guide
Difficulty:
★★★★★
⏱5-10 mins
📄Thin Kami or Silk Paper (Tant/Washi)

🎬Video Tutorial
📐Step-by-Step Diagram

📝 Folding Steps
- Step 1: Prepare a square sheet of paper. Fold the paper in half diagonally (connecting two opposite corners) to create a central crease, then unfold. (This action helps to locate the center line.)
- Step 2: Fold the paper in half diagonally again to form a triangle (with the pink side facing up). Fold the top corner of the triangle downwards, creating a horizontal crease.
- Step 3: Fold the tip you just folded down in Step 2 back up slightly, creating a small white triangle at the top (this will be the first layer of cream).
- Step 4: Fold the two upper corners (of the white section) inwards diagonally, creating a serrated edge for the top cream layer.
- Step 5: Gently fold the white tip created in Step 3 downwards again to further define the cream peak.
- Step 6: From the upper edge of the serrated cream section, fold a small layer of paper downwards and inwards (a reverse fold downwards), creating an additional layer of cream.
- Step 7: Fold the smallest tip at the very top upwards to create a final accent (like a cute little cherry).
- Step 8: Fold the two side edges of the cake body inwards along the existing vertical creases, to form a square shape for the cake.
- Step 9: Fold the two bottom corners of the cake body upwards and inwards, to create a flat base and complete the cake's shape.
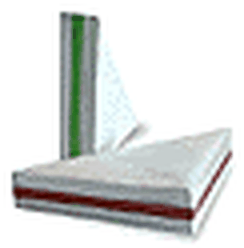
- Step 10: Complete! You now have an adorable Origami shortcake.