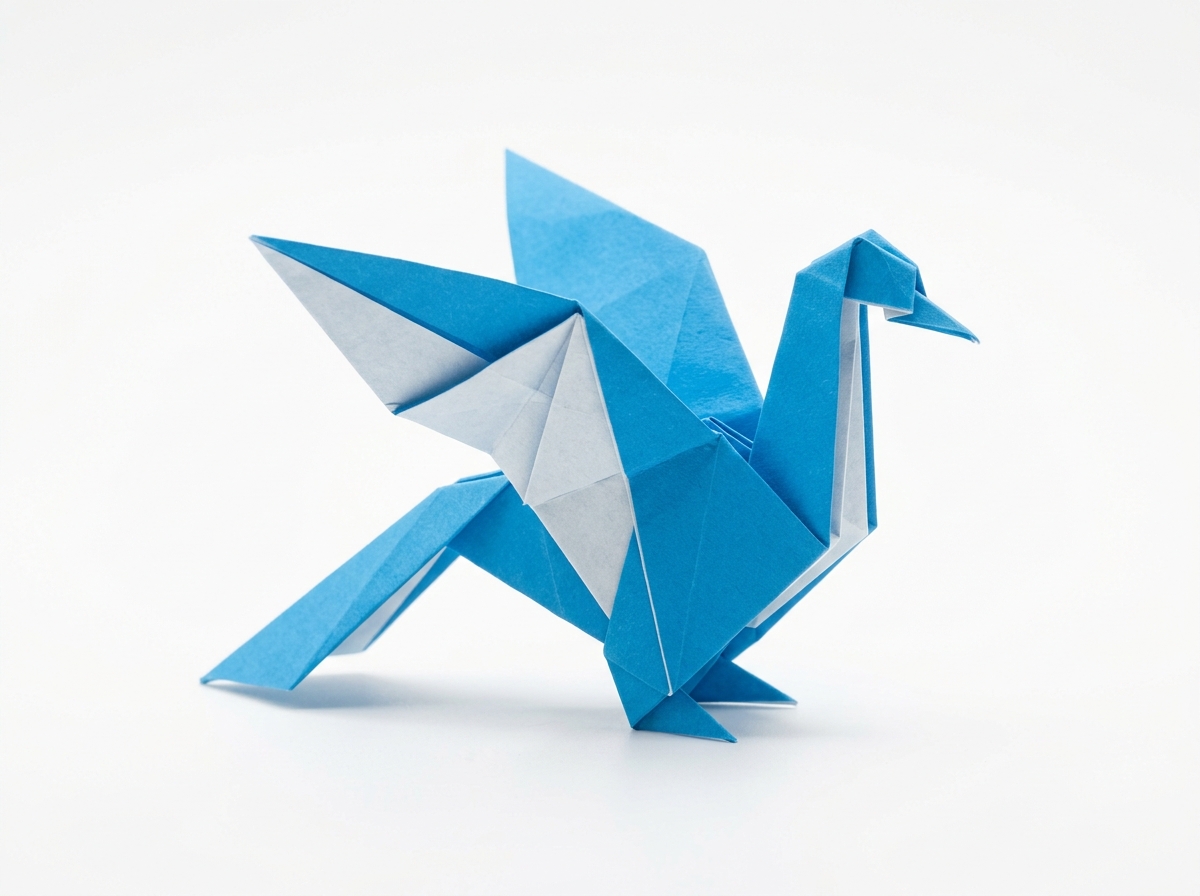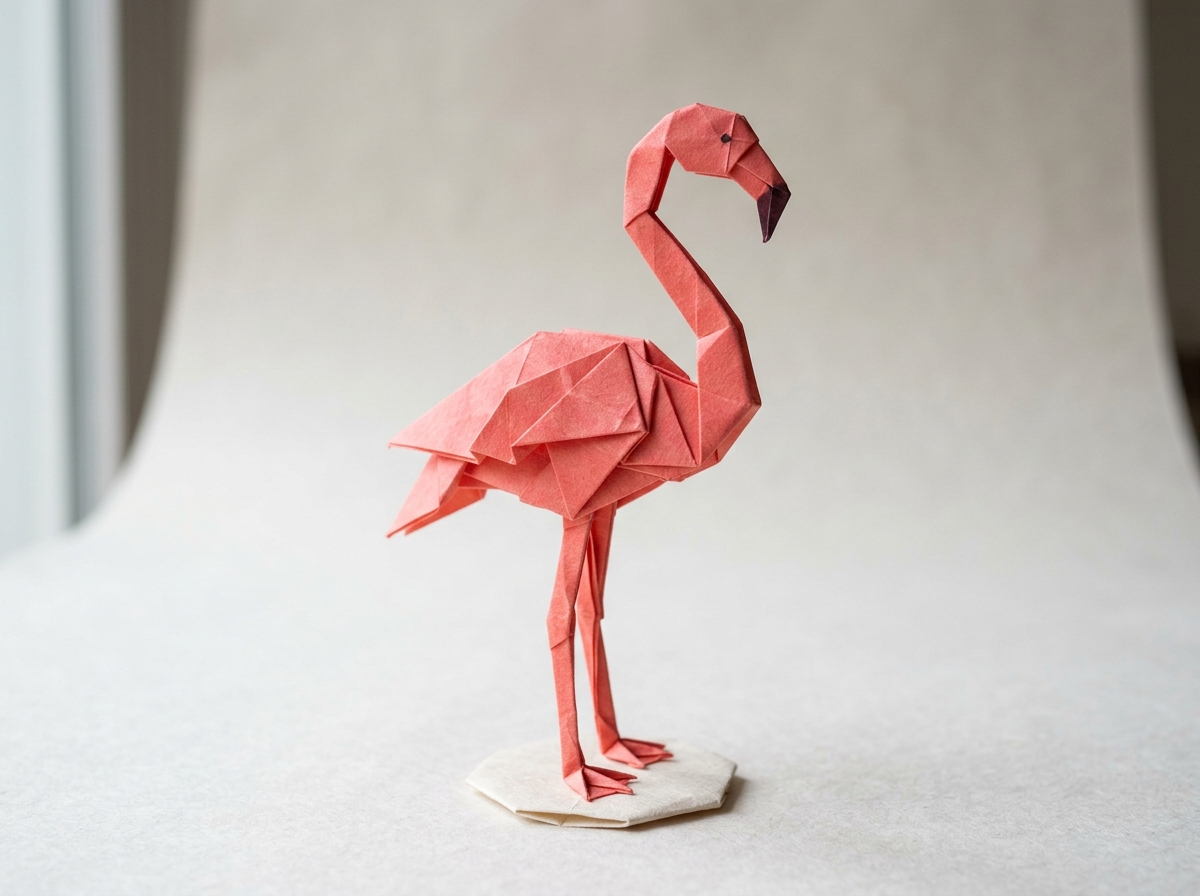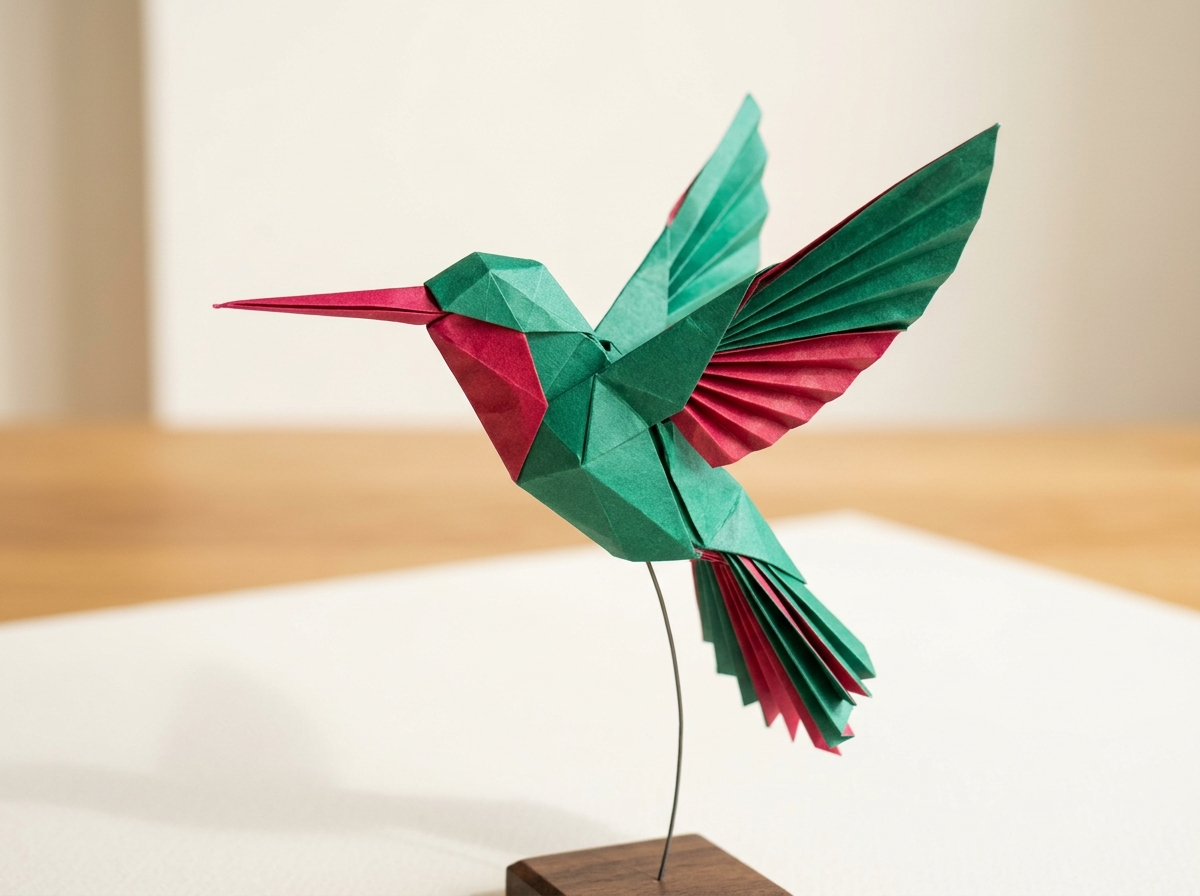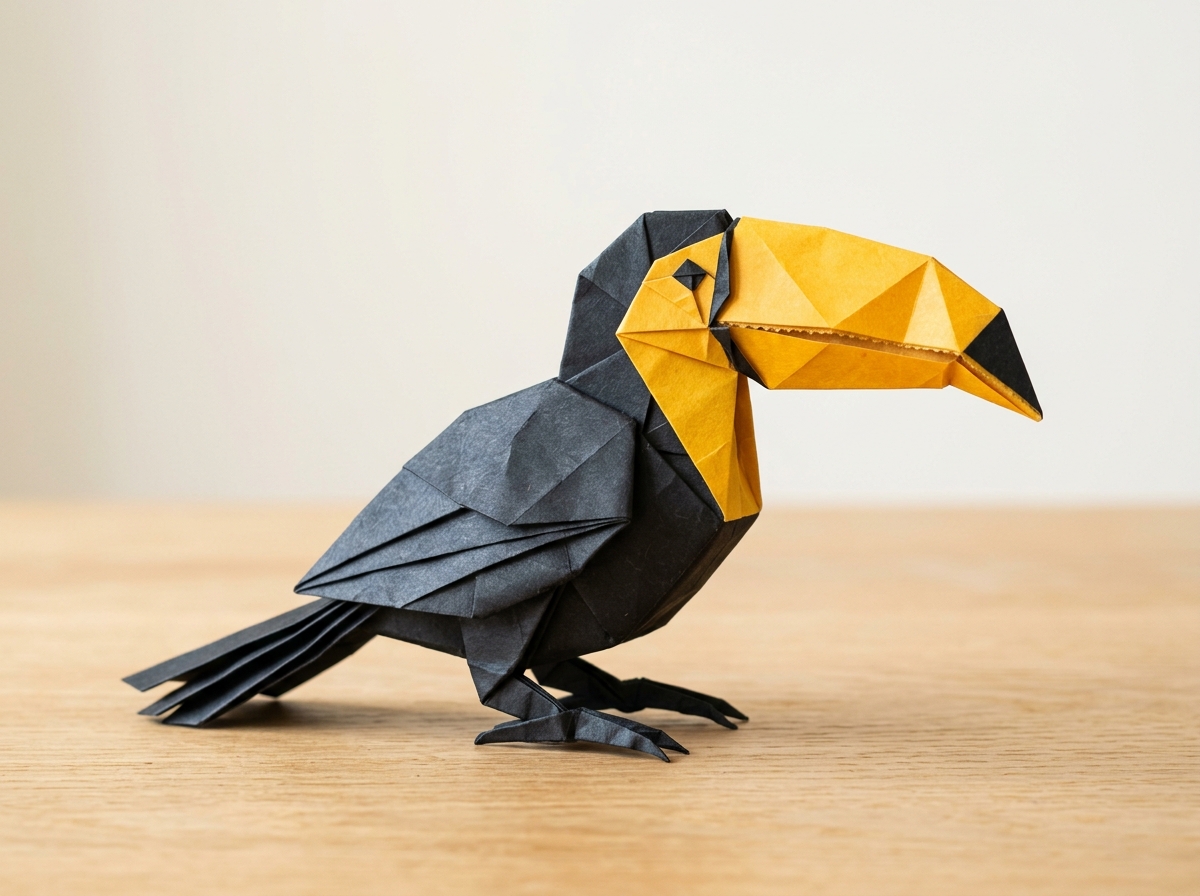


Hướng dẫn gấp vịt bằng giấy Origami
Difficulty:
★★★★★
⏱5-10 mins
📄Traditional Washi or Kami Paper

🎬Video Tutorial
📐Step-by-Step Diagram
📌 Pin Diagram
📝 Folding Steps
- Step 1: Place the paper as a diamond (white side up). Fold in half vertically from left to right to make a center crease, then unfold.
- Step 2: Fold the upper-left and upper-right edges inward to meet along the vertical center crease (Kite fold).
- Step 3: Fold the bottom triangle flap upward across the horizontal edge to crease the hinge, then unfold.
- Step 4: Open the inner pockets at the white arrows and lift the inner layer upward into an elongated diamond (Petal fold).
- Step 5: Turn the model over and fold the two lower side edges inward to the center line to narrow the neck and tail.
- Step 6: Fold the model in half vertically into profile view and angle the front neck flap upward.
- Step 7: Inside-reverse fold the top tip of the neck downward at an angle to form the bird's head and pointed beak.
- Step 8: Spread the wings slightly outward and draw the eyes to complete your Hướng dẫn gấp vịt bằng giấy Origami!
Recommended Origami Supplies
🛒 Shop Origami Paper on AmazonAuthentic Japanese Kami & Washi Origami Paper
Get crisp, accurate creases and vibrant dual-sided colors with authentic Japanese Kami and Washi paper packs.
KS
Reviewed by Kenji Sato & GapgiayOrigami Editorial Team✓ Test-Folded
Every diagram and folding step in this tutorial has been test-folded and verified for geometric accuracy.