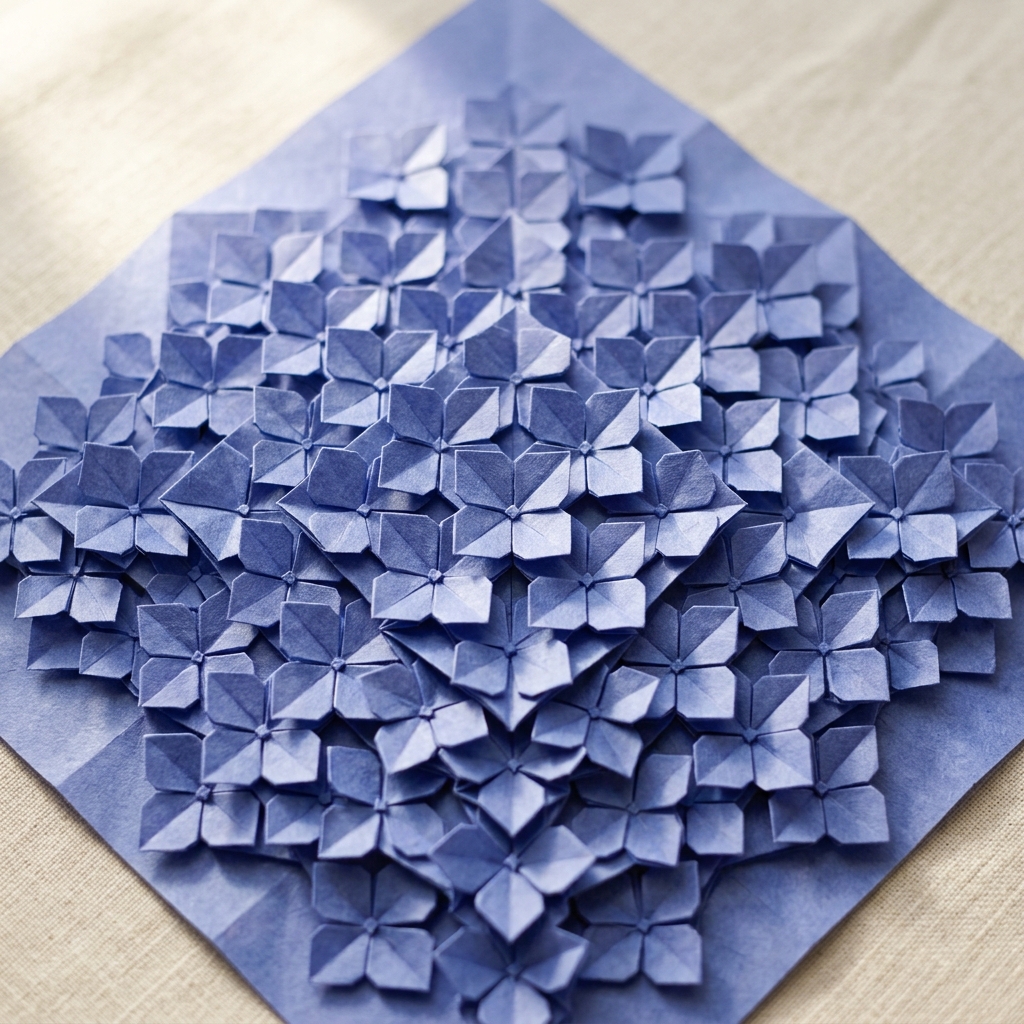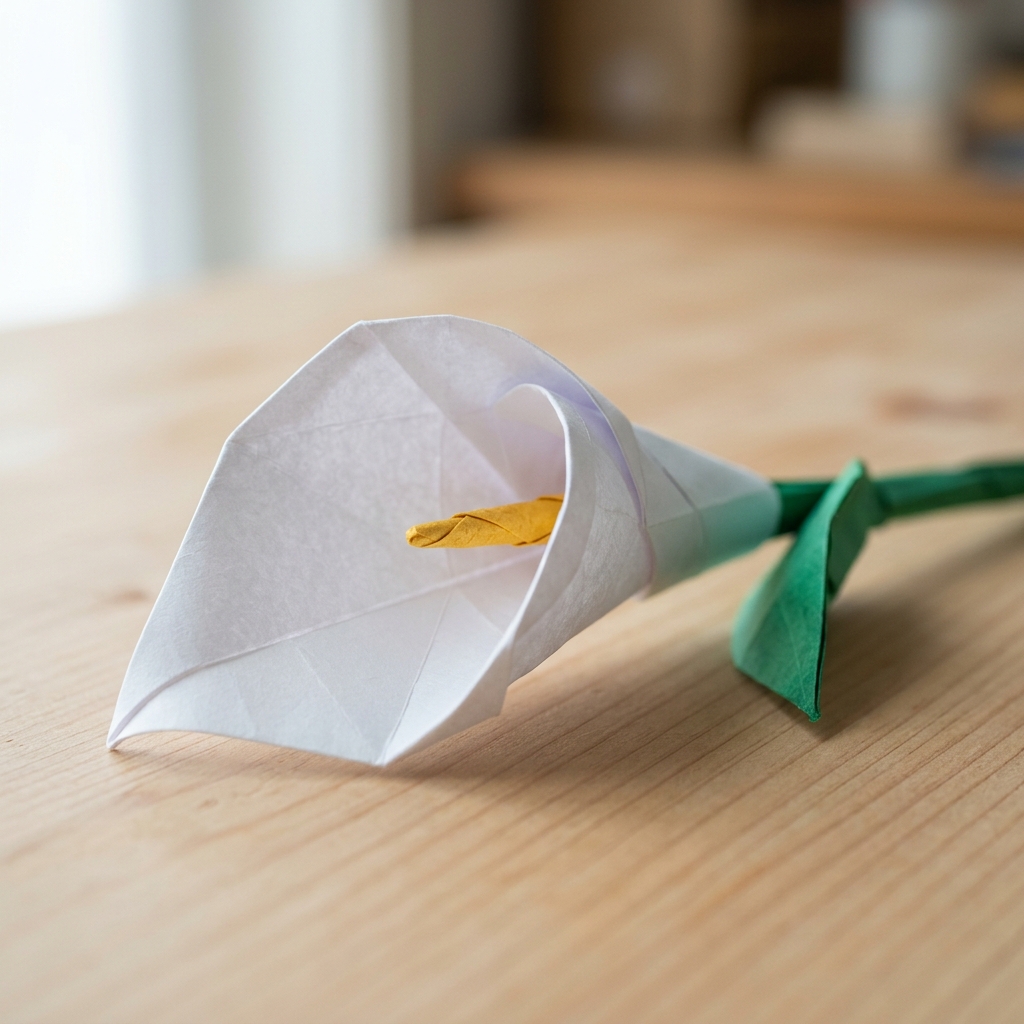


How to Fold an Origami Flower Pinwheel
Difficulty:
★★★★★
⏱5-10 mins
📄Thin Kami or Silk Paper (Tant/Washi)

🎬Interactive Vector Video • Yoshizawa–Randlett Notation
📐Step-by-Step Vector Video Simulator (8 Steps)
Dashed: Valley Fold (Toward You)Dash-Dot: Mountain Fold (Behind)↷Curved Arrow: Folding Motion
🔍Step 1 / 8 — Diagram Magnifier
Diagram Grid:
Ô #1 / 8
Bản đồ 8 bước
Bấm vào ô bất kỳ trên bản đồ sơ đồ để xem chuyển động bước đóMẫu hoàn chỉnh
Mẫu hoàn chỉnh1
Start white side up. Fold the square paper in half vertically and horizontally to make a cross (+) crease, then unfold.
📐 Fold Angle Progress: 0%
📐Step-by-Step Diagram
📌 Pin Diagram
📝 Folding Steps
- Step 1: Start white side up. Fold the square paper in half vertically and horizontally to make a cross (+) crease, then unfold.
- Step 2: Fold all four outer corners inward to meet at the exact center intersection (Blintz fold).
- Step 3: Fold the left/right and top/bottom edges to the center lines to make quarter creases, then unfold.
- Step 4: Insert your fingers into the four inner pockets at the white arrows (⇧) and squash-fold them outward into four pinwheel/flower points.
- Step 5: At the center of the model, valley-fold the four inner triangular flaps outward along the dashed lines to open the blossom center.
- Step 6: Make subtle diagonal pleat creases along the side edges of each petal to give the blossom natural volume.
- Step 7: Mountain-fold the four outer corner tips behind along the dashed lines to round off the petal tips.
- Step 8: Gently curve the petals to complete your vibrant How to Fold an Origami Flower Pinwheel origami blossom!
Recommended Origami Supplies
🛒 Shop Origami Paper on AmazonAuthentic Japanese Kami & Washi Origami Paper
Get crisp, accurate creases and vibrant dual-sided colors with authentic Japanese Kami and Washi paper packs.
KS
Reviewed by Kenji Sato & GapgiayOrigami Editorial Team✓ Test-Folded
Every diagram and folding step in this tutorial has been test-folded and verified for geometric accuracy.