

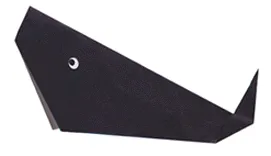
How to Make an Origami Whale: Easy Step-by-Step Guide
Difficulty:
★★★★★
⏱5-10 mins
📄Traditional Washi or Kami Paper
🎬Video Tutorial
📐Step-by-Step Diagram
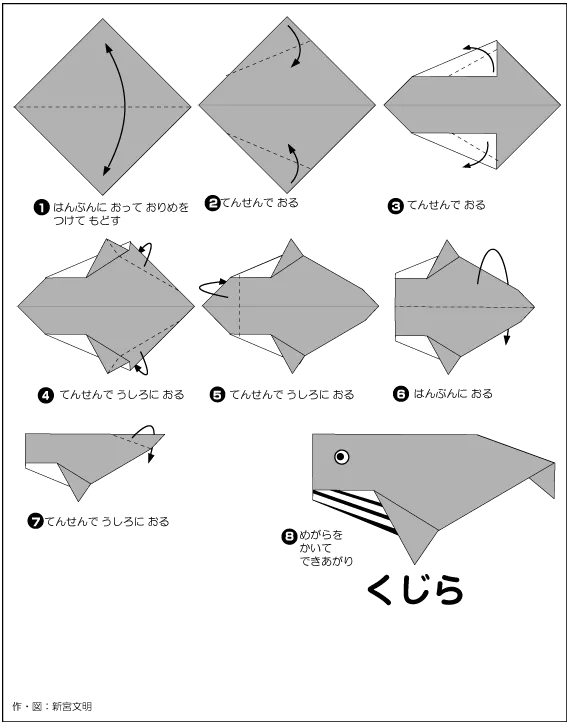
📝 Folding Steps
- Step 1: Start with a square piece of paper. Fold it in half diagonally to create a center crease, then unfold.
- Step 2: Fold the top and bottom corners toward the center crease so that the edges align. You will now have a kite shape.
- Step 3: Fold the left and right edges inward toward the vertical center line.
- Step 4: At the top and bottom points (the parts folded in step 3), gently open the inner layers and flatten them to form two pointed fins/tails.
- Step 5: Fold the top-left corner down slightly to round it off and shape the whale's head.
- Step 6: Fold the top fin down to flatten the whale's back, creating a smoother silhouette.
- Step 7: Perform an inside reverse fold on the bottom-left corner to shape the whale's lower jaw.
- Step 8: Draw an eye and some stripes on the mouth to complete your origami whale!