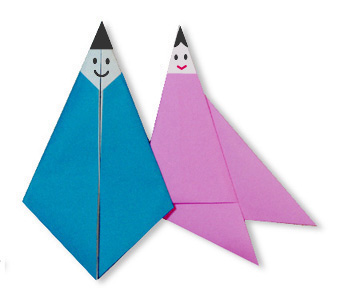


Hướng dẫn gấp hình trang trí 7 bằng giấy Origami
Difficulty:
★★★★★
⏱5-10 mins
📄Specialized Origami Craft Paper

🎬Interactive Vector Video • Yoshizawa–Randlett Notation
📐Step-by-Step Vector Video Simulator (8 Steps)
Dashed: Valley Fold (Toward You)Dash-Dot: Mountain Fold (Behind)↷Curved Arrow: Folding Motion
🔍Step 1 / 8 — Diagram Magnifier
Diagram Grid:
Ô #1 / 8
Bản đồ 8 bước
Bấm vào ô bất kỳ trên bản đồ sơ đồ để xem chuyển động bước đóMẫu hoàn chỉnh
Mẫu hoàn chỉnh1
Start with a square sheet. Fold the bottom half upward along the horizontal center line to form a rectangle.
📐 Fold Angle Progress: 0%
📐Step-by-Step Diagram
📌 Pin Diagram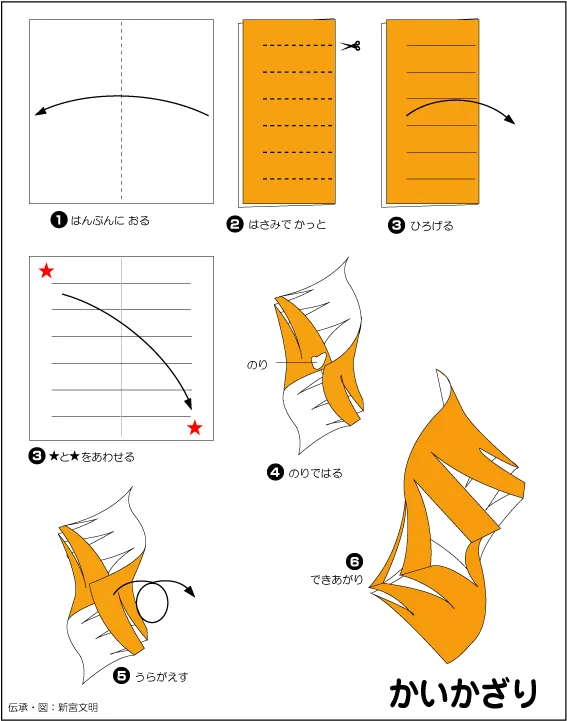
📝 Folding Steps
- Step 1: Start with a square sheet. Fold the bottom half upward along the horizontal center line to form a rectangle.
- Step 2: Fold in half from right to left to mark the center point of the folded edge, then unfold.
- Step 3: From the bottom center point, fold the right section diagonally over to the left at a 60-degree angle (dividing into thirds).
- Step 4: Fold the left section diagonally over to align cleanly with the right folded edge, forming a 6-layer radial cone.
- Step 5: Mountain-fold the uneven protruding top tails behind along the horizontal dashed line to create a clean wedge.
- Step 6: Fold or cut along the symmetric angled pattern lines on both edges of the wedge to shape the star/snowflake rays.
- Step 7: Carefully unfold the radial layers outward around the center point and flatten the main ridges evenly.
- Step 8: Flatten and align all radial points to complete your Hướng dẫn gấp hình trang trí 7 bằng giấy Origami!
Recommended Origami Supplies
🛒 Shop Origami Paper on AmazonAuthentic Japanese Kami & Washi Origami Paper
Get crisp, accurate creases and vibrant dual-sided colors with authentic Japanese Kami and Washi paper packs.
KS
Reviewed by Kenji Sato & GapgiayOrigami Editorial Team✓ Test-Folded
Every diagram and folding step in this tutorial has been test-folded and verified for geometric accuracy.